Step-by-Step Guide to Installing Picture Frame Molding
Picture frame molding can add an elegant and timeless touch to any room. Whether you are decorating a living room, dining room, or hallway, this simple yet striking style can transform bare walls into works of art.
With its clean lines and classic design, picture frame molding enhances the visual appeal of your space while maintaining a feeling of sophistication.
In this guide, we will walk you through the process of installing picture frame molding the easiest way possible, turning a daunting task into a satisfying DIY project.
What is Picture Frame Molding?
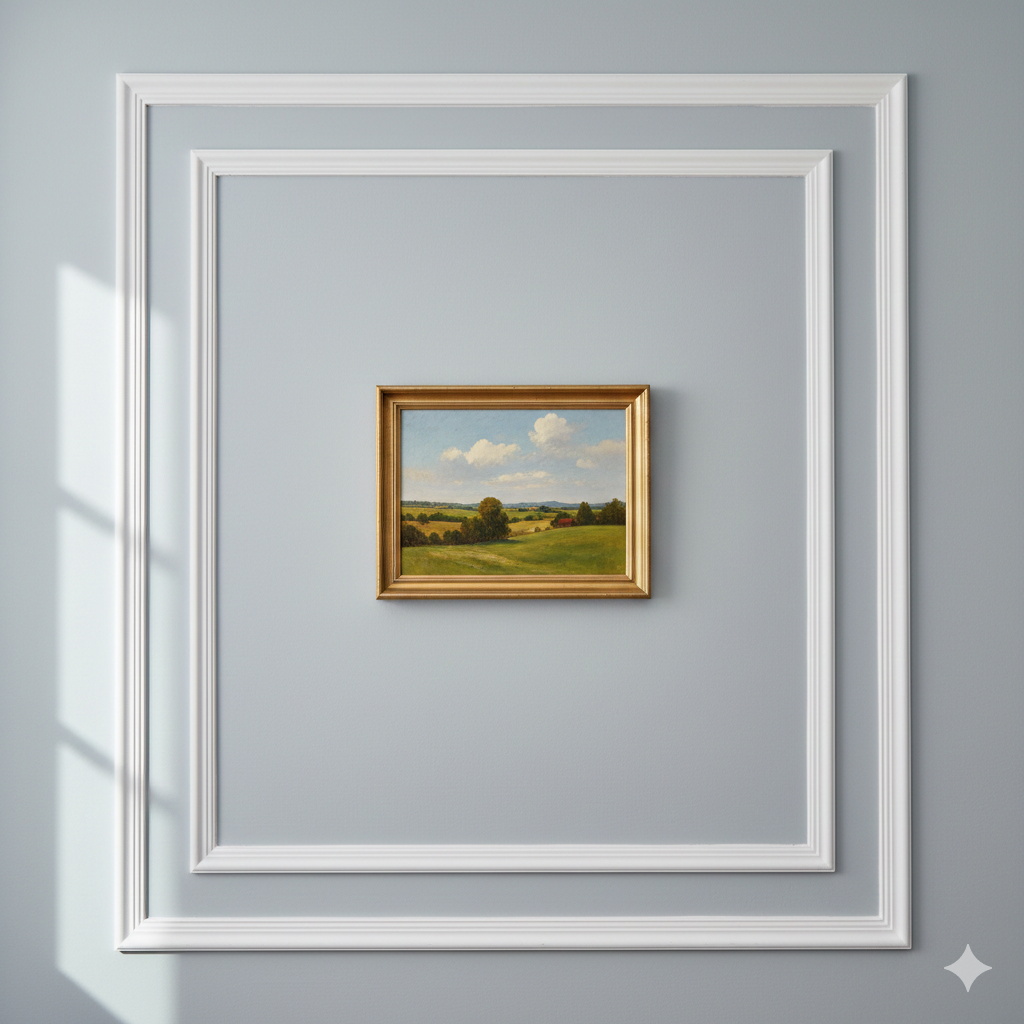
Picture frame molding is a form of wainscoting that uses rectangular panels framed by molding. This decorative trim style is often used to create the illusion of artwork or framed panels on walls. While it may look intricate, it is surprisingly easy to install and adds a custom, high-end look to any room.
Unlike traditional wainscoting, which involves covering the lower portion of walls with wooden panels, picture frame molding is designed to be a feature on the upper portion of the wall. It offers the charm of wainscoting without the complexity of more traditional methods.
Why Choose Picture Frame Molding?
If you’re looking to give your walls a touch of class without breaking the bank, picture frame molding is the perfect solution. Here’s why:
Simple, Elegant Design
The clean lines and symmetrical shapes of picture frame molding add sophistication to any room. Whether you are remodeling a small guest room or refreshing a large entryway, this timeless design works well in nearly any setting.
Quick and Easy Installation
Although it may appear complex, picture frame molding is actually one of the easiest types of wainscoting to install. You don’t need to worry about complex paneling or intricate designs. Instead, you can achieve professional-looking results with basic tools and minimal effort.
Budget-Friendly
Compared to other decorative treatments like recessed panel wainscoting, picture frame molding is affordable. The molding itself is inexpensive, and since the installation process is simple, you can save a significant amount on labor costs if you do it yourself.
Versatility
Picture frame molding is highly versatile. It can be customized in terms of the size, style, and color of the frames to match your interior décor. From modern to traditional, this style can adapt to any aesthetic preference.
Tools and Materials You’ll Need for the Job
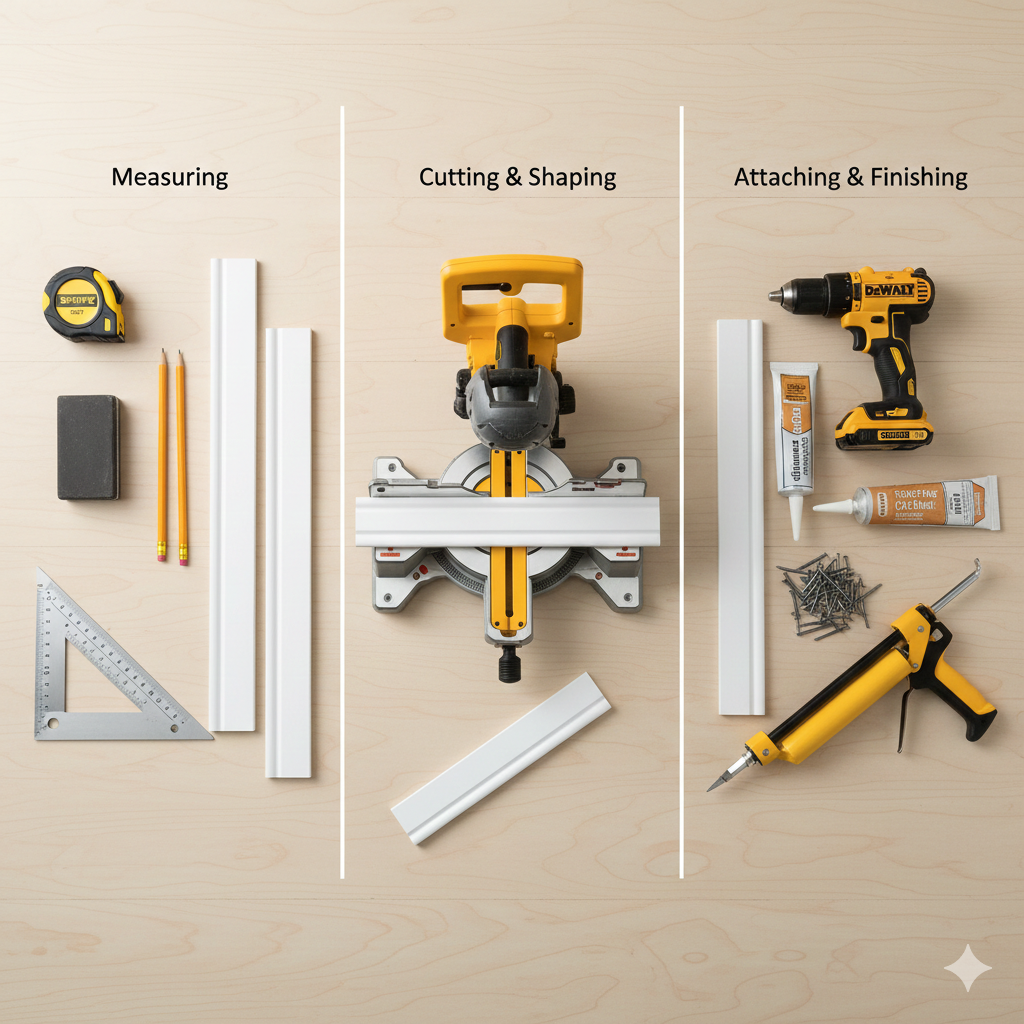
Before you begin, make sure you have all the necessary tools and materials. Having everything on hand ensures that the installation process will be as smooth and efficient as possible.
Tools:
- Tape Measure: For precise measurements of your wall and molding.
- Level: To ensure that your frames are straight and aligned properly.
- Saw: A miter saw is ideal for making accurate cuts on the molding pieces.
- Nail Gun or Hammer: For attaching the molding to the wall.
- Stud Finder: If your walls are drywall, this will help you locate studs for extra support.
- Clamps: To hold the molding pieces in place while you secure them.
- Caulk: For filling in any small gaps or imperfections.
- Wood Glue: For pre-assembling the frames before attaching them to the wall.
Materials:
- Picture Frame Molding: Choose a molding style that suits your taste. You can purchase pre-made molding or select raw wood that you can paint or stain yourself.
- Baseboard and Chair Rail: These will serve as the foundation for the picture frames.
- Construction Adhesive: Used to help secure the molding to the wall.
Step-by-Step Guide to Installing Picture Frame Molding
Installing picture frame molding is a process that involves several key steps. With the right tools and materials, you can complete the installation in a day. Follow these steps for a flawless finish.
Prepare the Wall
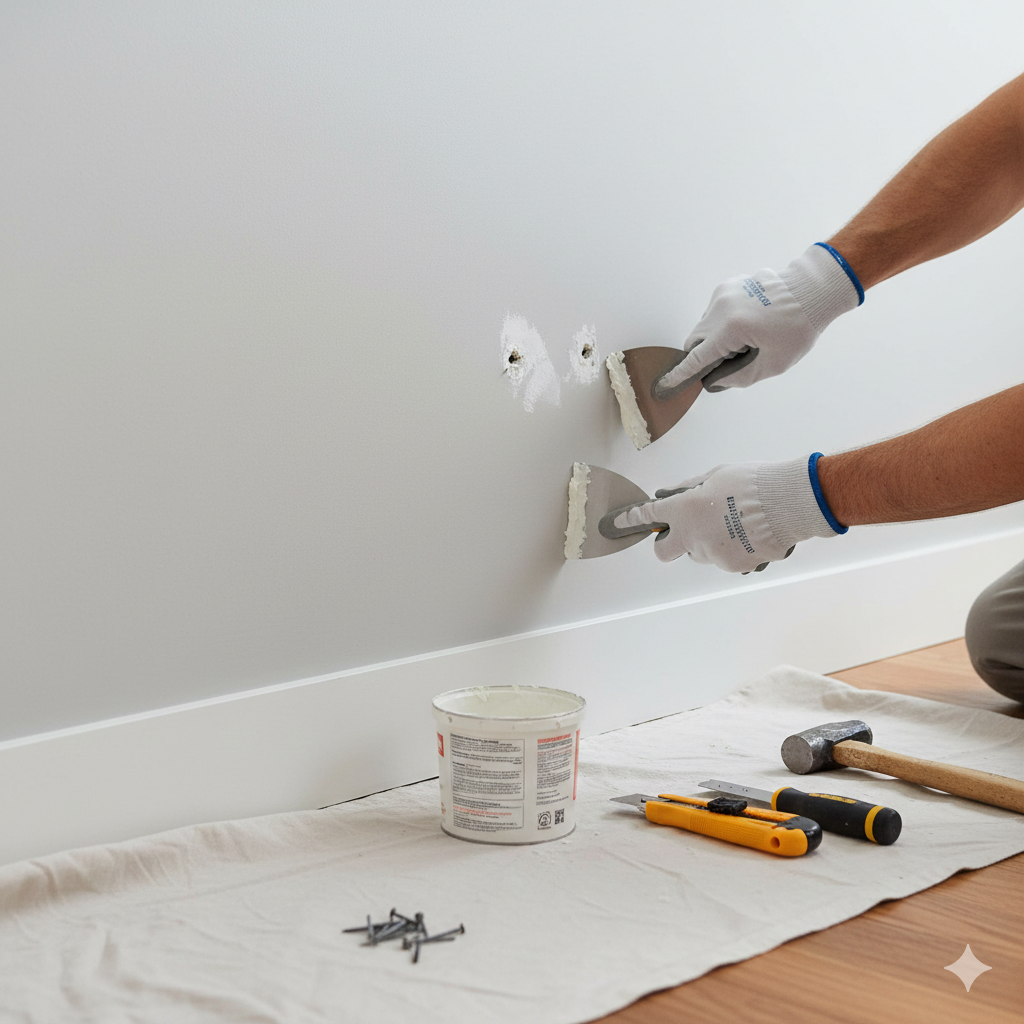
Before you begin installing your molding, make sure the wall is clean and dry. Remove any nails, screws, or old trim. If you’re working with newly constructed drywall, be sure it is smooth and free of imperfections. Use a drywall patching compound to fill in any holes or gaps.
Measure and Plan the Layout
The first step in installation is to plan the layout of your picture frame molding. Start by measuring the width and height of the wall where you intend to install the frames. Mark the locations where the molding will be placed. Use a level to ensure that the marks are straight and even.
When measuring the width for each frame, take into account the spacing between frames. A general rule of thumb is to space frames about 3 to 4 inches apart. However, this can vary depending on your design preferences.
Install the Baseboard and Chair Rail
Begin by installing the baseboard and chair rail at the appropriate heights. These elements will serve as the foundation for your picture frame molding, so it’s crucial that they are level and securely attached. Use a stud finder to locate the studs behind the drywall and attach the baseboard and chair rail with nails or construction adhesive.
Pre-assemble the Picture Frame Molding
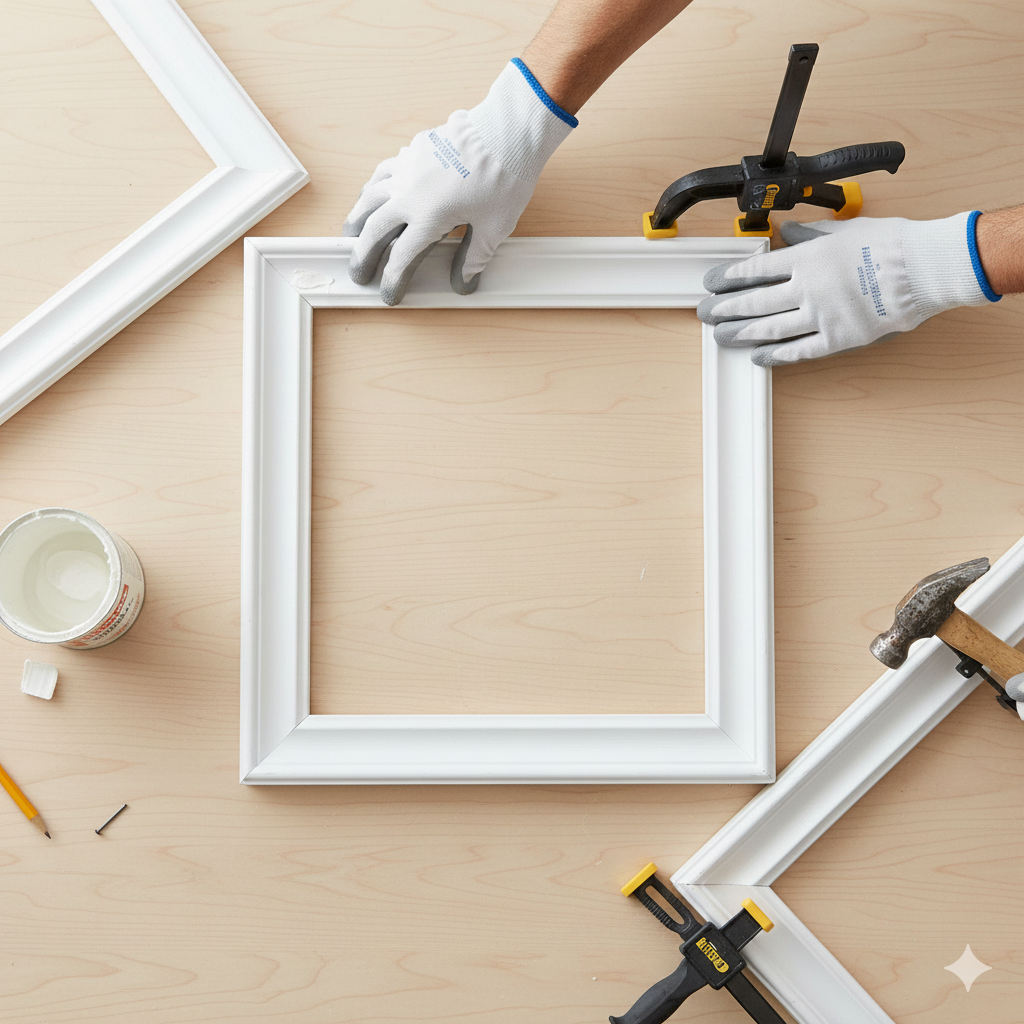
To make the installation process easier, pre-assemble the picture frame molding before attaching it to the wall. Cut the molding pieces to the correct lengths and use wood glue to attach the corners. Clamp the corners in place and allow the glue to set. Once the frame is assembled, use finishing nails to reinforce the joints.
Attach the Frames to the Wall
Now it’s time to attach the pre-assembled frames to the wall. Begin with the lower panels and work your way up.
Apply a bead of construction adhesive to the back of the frame and use a level to ensure it is perfectly straight before securing it with finishing nails. For larger frames, you may need an extra hand to help hold them in place as you nail them in.
If you are installing multiple frames in a row, be sure to maintain consistent spacing between each frame. A spacer can be used to keep the frames evenly spaced as you attach them.
Fill Gaps and Caulk the Corners
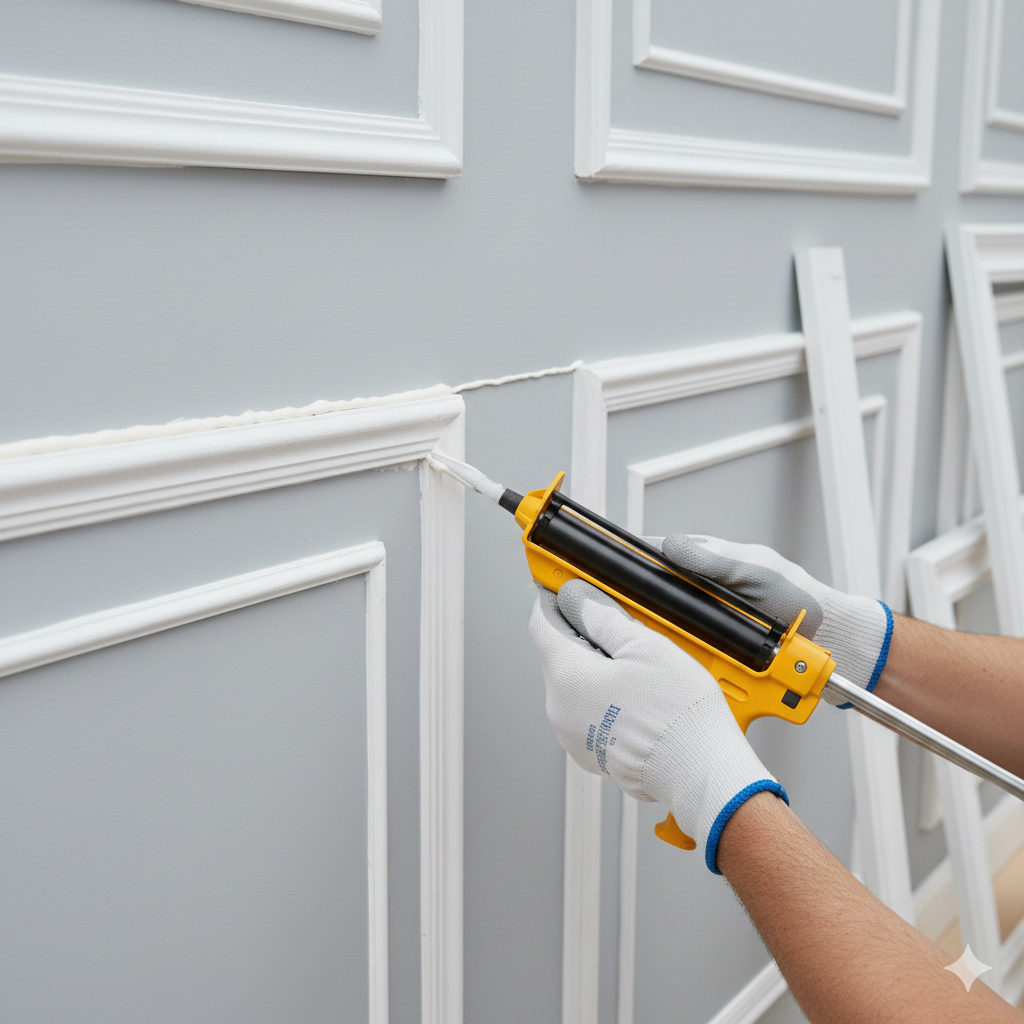
Once the frames are securely in place, check for any gaps between the molding and the wall. Use caulk to fill in any small spaces or imperfections. This will create a seamless look and ensure that your frames appear professionally installed.
Paint and Finish
After the caulk has dried, it’s time to finish the molding. If you’re using raw wood, sand it smooth before applying a coat of primer and paint. If you’ve chosen pre-painted molding, you can skip this step. Be sure to allow the paint to dry completely before handling the frames.
Design Tips for Picture Frame Molding
When it comes to picture frame molding, the design possibilities are endless. Here are some design tips to help you create a stunning feature wall:
Experiment with Different Molding Styles
Picture frame molding comes in a variety of styles, from simple, clean lines to more intricate designs. Choose a style that complements your room’s décor. If you have a modern or minimalist space, opt for simple, square frames. For a more traditional look, select frames with detailed profiles or beveled edges.
Play with Color and Finish
While classic white is a popular choice for picture frame molding, you can experiment with different colors to suit your room’s theme.
Darker shades like navy or charcoal can create a dramatic, high-contrast look, while lighter shades like pale gray or beige can soften the space.
Add Art to the Frames
To enhance the picture frame molding, consider adding artwork or mirrors inside the frames. This can create the illusion of framed artwork on your walls without the need for actual paintings. Choose prints or photographs that match your room’s color palette and overall aesthetic.
Mix and Match
Consider combining picture frame molding with other types of wall treatments, such as wallpaper or textured panels. This can create a dynamic, layered effect that adds depth and interest to your walls.
Conclusion
Picture frame molding is a simple yet elegant way to elevate the look of your walls. With the right tools, careful planning, and a little creativity, you can install this decorative feature in your home with ease.
Whether you are adding a touch of sophistication to your dining room or creating a statement wall in your hallway, picture frame molding offers timeless appeal and adds value to any space. By following this comprehensive guide, you’ll achieve professional results that will leave your guests impressed and your home feeling stylish and refined.
Read the Original Article on Crafting Your Home