How to Build Floating Shelves Step by Step
Floating shelves are an elegant, functional, and practical addition to any home. Unlike traditional shelves that rely on visible brackets or supports, floating shelves give the illusion of floating on the wall, creating a minimalist and modern look.
In this detailed guide, we will walk you through the step-by-step process of building floating shelves that not only look stunning but are also sturdy and capable of holding substantial weight.
Why Build Floating Shelves?
Building floating shelves is an excellent DIY project that allows you to create custom shelves to match your exact needs.
Whether you’re looking for additional storage space, an aesthetic improvement, or a simple way to display your favorite items, floating shelves are a versatile choice. They can be customized to fit any room, offering a sleek look without the need for unsightly brackets.
Key Benefits:
- Customization: Choose your materials, dimensions, and finish.
- Sturdiness: Homemade shelves are stronger than most store-bought options.
- Cost-Effective: Save money compared to buying pre-made floating shelves.
- Aesthetic Appeal: A modern, minimalist design that complements any room décor.
Materials Needed for Floating Shelves
Before you begin your project, gather the following materials:
- Plywood: 1/2-inch thick plywood (red oak or any wood of your choice)
- Veneer: Peel-and-stick veneer for a seamless wood finish
- 2×4 Lumber: For the internal frame and cleat
- Screws & Nails: Wood screws (1-5/8 inch) and 18-gauge brad nails
- Lag Screws: 4-inch lag screws for securing the shelf to the wall
- Wood Glue: For assembling the frame
- Wood Filler & Putty: To fill gaps and screw holes
- Paint or Stain: For finishing the shelf
Tools Required:
- Circular Saw or Table Saw
- Cutting Guide (for straight, accurate cuts)
- Brad Nailer or Hammer (for nailing pieces together)
- Sander (Random Orbital and Belt Sanders)
- Drill (for pre-drilling holes)
- Level (to ensure proper alignment)
- Measuring Tape & Square (for accurate cuts and angles)
- Stud Finder (to locate wall studs for mounting the shelf)
Cutting the Materials
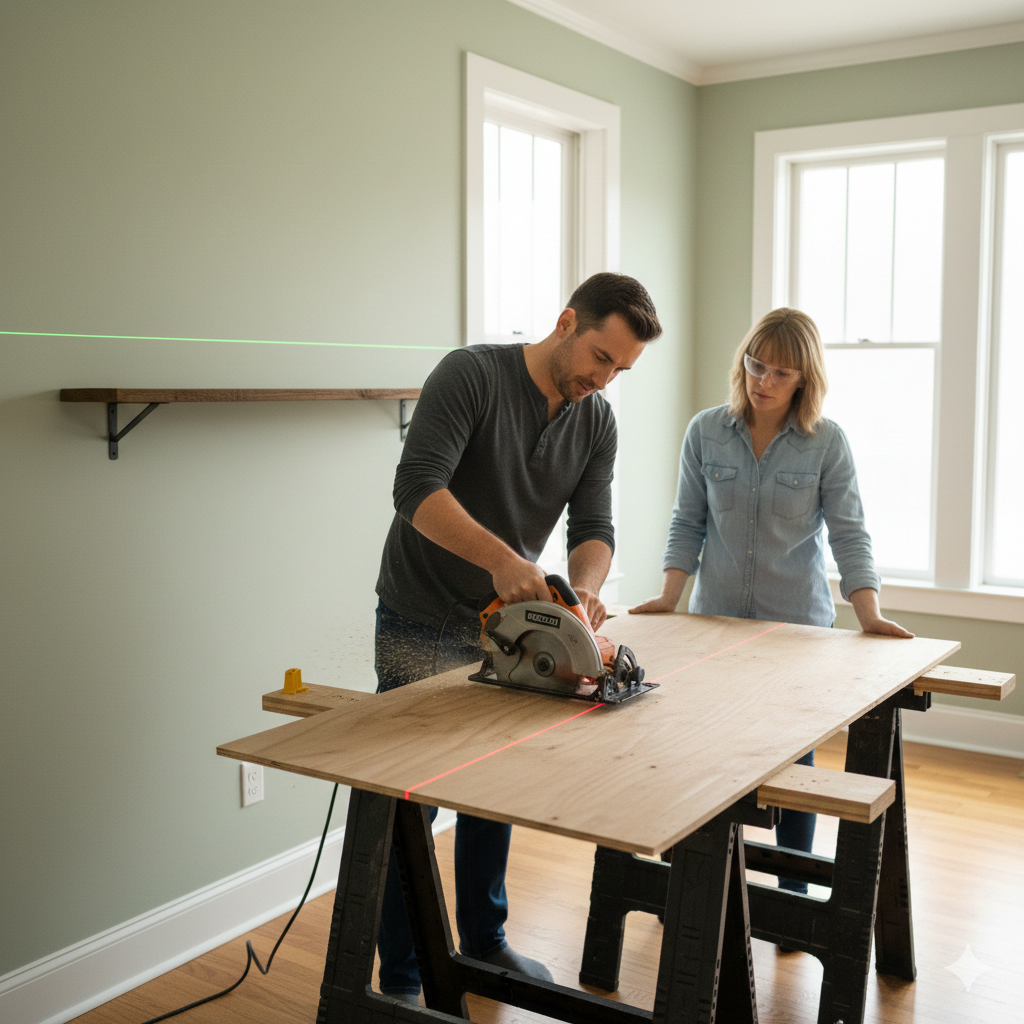
Start by cutting your plywood into the desired dimensions for the shelves. You can easily make multiple shelves from one 4×8-foot sheet of plywood.
Use a circular saw with a fine-toothed blade to ensure clean cuts. If you prefer, you can use a table saw for faster results.
For our project, the shelf dimensions are typically around 72 inches long, 11 inches deep, and 2-1/2 inches thick.
Tip: Use a cutting guide to ensure straight cuts for both short and long pieces.
Assemble the Shelf Frame
Now, it’s time to assemble the frame. Start by cutting your 2×4 lumber to the appropriate lengths. The frame consists of front and side rails that form the perimeter of the shelf.
- Lay the front rail horizontally on a flat work surface.
- Attach the side rails vertically to the front rail using wood glue and 1-inch brad nails.
- Add filler pieces inside the frame for added support.
- Finally, attach the top and bottom plywood panels to complete the frame.
Tip: To ensure everything aligns properly, use clamps while nailing the pieces together.
Sand the Shelf for Smooth Edges
Once the frame is assembled, sand the edges and surfaces to ensure everything is flush. This is crucial before applying veneer, as any bumps or uneven areas will prevent proper adhesion.
Use a random orbital sander with medium-grit sandpaper for the best results. Focus on smoothing the front and side edges of the shelf, as this will be visible once finished.
Apply the Veneer

For a sleek and professional finish, apply veneer to the exposed plywood edges. Cut the peel-and-stick veneer to size, allowing a 1/4-inch overhang on all sides.
- Peel off the backing and align the veneer carefully along the edges.
- Press down firmly with a wooden block to ensure a secure bond.
- Trim any excess veneer with a handheld edge trimmer or a router with a flush-trimming bit.
Tip: Be sure to apply the veneer slowly, a few inches at a time, to avoid bubbles or wrinkles.
Drilling Holes for Mounting
To mount the floating shelf, you’ll need to drill pilot holes for the mounting screws. Mark the locations on the top of the shelf where screws will go into the cleat, ensuring they are spaced evenly and positioned 3/4 inch from the back edge.
Tip: Pre-drill pilot holes using a drill bit slightly smaller than the screw size to avoid splitting the wood.
Prepare the Wall Cleat
The cleat is the key to mounting your shelf securely. Cut a 2×4 to the desired length for your cleat, making sure it is slightly shorter than the width of the shelf.
- Rip the 2×4 to the desired width using a saw.
- Drill holes in the cleat for the lag screws that will hold it to the wall.
- Use a stud finder to locate the wall studs, then drill pilot holes for the lag screws.
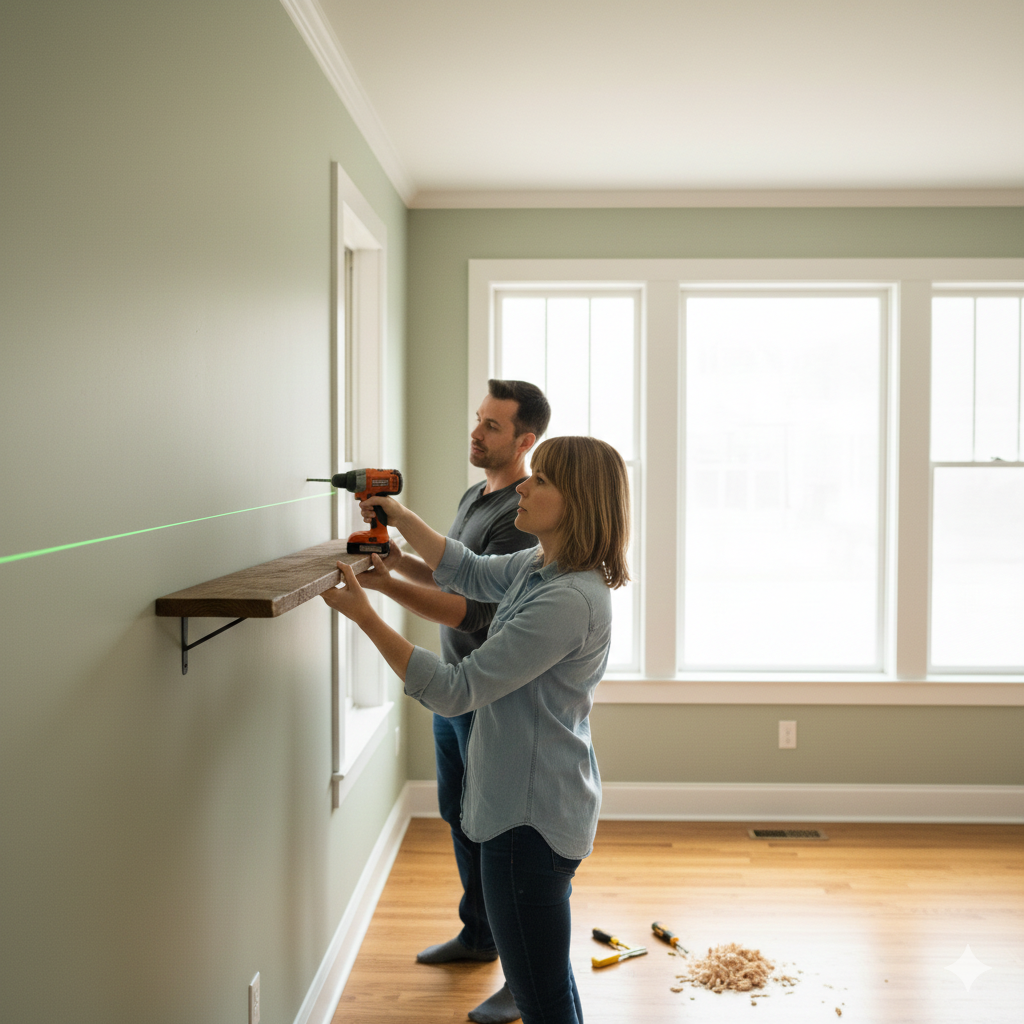
Mount the Cleat on the Wall
Once the cleat is ready, mount it securely to the wall using 4-inch lag screws. Start by aligning the cleat level with a level tool, then screw the lag screws through the cleat into the wall studs. Make sure the cleat is attached firmly.
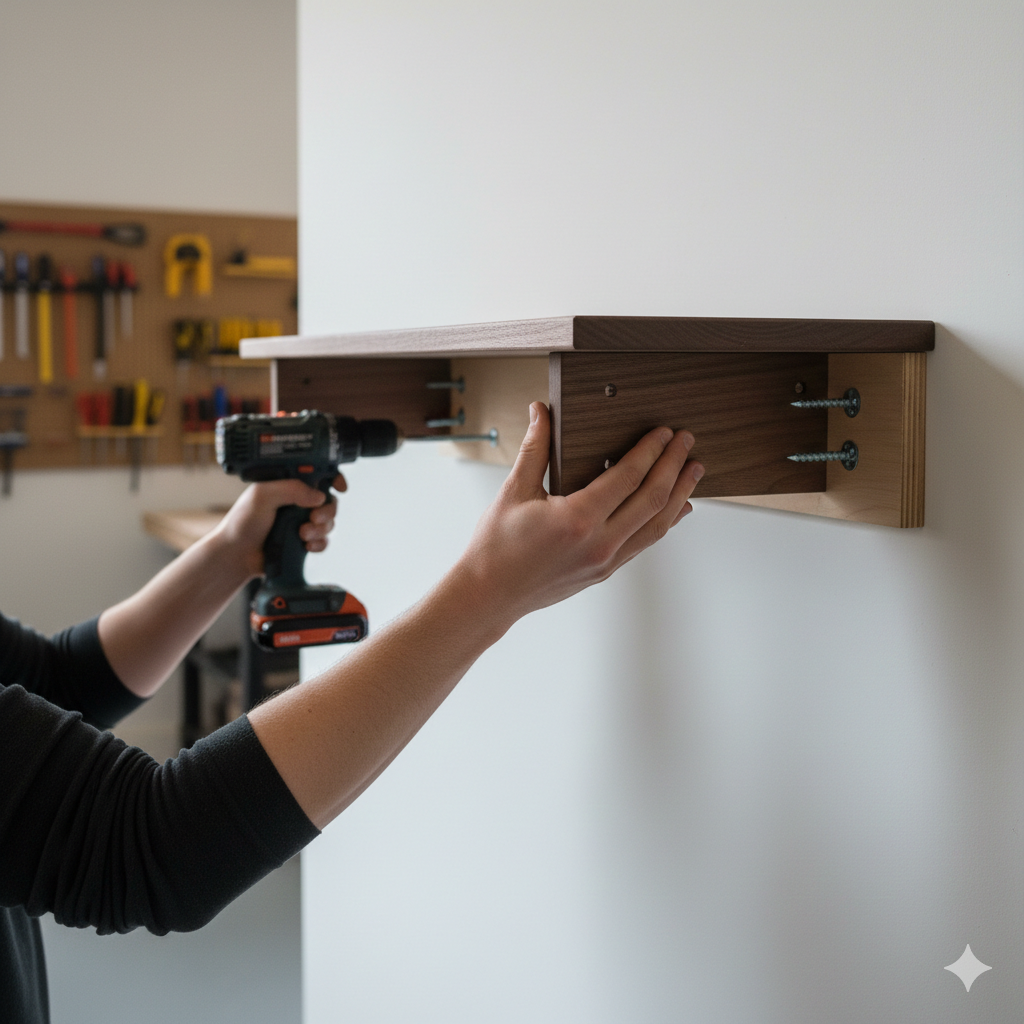
Step 8: Attach the Shelf to the Wall Cleat
Now that your cleat is mounted securely, it’s time to attach the shelf. Lift the shelf and align the pilot holes with the cleat.
- Drive wood screws through the pilot holes and into the cleat.
- Make sure the shelf is level and flush against the wall.
Finish the Shelf
Finally, fill any visible nail holes with stainable wood filler. Once the filler is dry, sand the surface smooth. Apply your choice of stain or paint to the shelf, ensuring a seamless and polished finish.
Tip: Use a tack cloth to remove any sanding dust before staining to ensure a smooth, even finish.
Mounting Tips and Considerations
- Weight Limit: Floating shelves can hold significant weight, but the amount of weight they can bear depends on the materials, size, and the way they are mounted. Ensure that the cleat is securely attached to the wall studs, and use screws that are appropriate for the shelf’s weight capacity.
- Scribing: If your wall isn’t perfectly straight, you may need to scribe the back edge of the shelf to ensure a snug fit. This can be done by tracing the contour of the wall and sanding the shelf to match.
- Finishing Touches: After installation, inspect the shelf for any imperfections. Touch up any areas where the veneer or finish may have been compromised.
Conclusion
Building your own floating shelves is a rewarding DIY project that allows you to customize your shelves to fit your style, budget, and space.
With just a few basic tools and materials, you can create beautiful, sturdy shelves that appear to float effortlessly on the wall. Follow this comprehensive guide to ensure your floating shelves are not only functional but also a stunning addition to your home décor.
Read the original article in Crafting Your Home.