How to Build and Install Shelves Above Kitchen Cabinets
Maximize your kitchen’s potential by adding shelves above your kitchen cabinets. This often-underutilized space can be transformed into a functional and visually appealing feature that enhances both storage and décor.
Whether you’re looking to display decorative items or store items within easy reach, this guide will walk you through the process of adding shelves above your kitchen cabinets with ease.
Why Add Shelves Above Kitchen Cabinets?
Adding shelves above your kitchen cabinets offers several benefits, including:
- Extra Storage: It makes use of otherwise empty space to store items such as bowls, glassware, or decorative jars.
- Aesthetic Appeal: Shelves above cabinets create an elegant visual effect, making your kitchen look more organized and put together.
- Easy to Clean: These shelves are often easier to wipe down compared to the space above cabinets, where dust tends to accumulate.
- Increased Functionality: Provides a spot for frequently used items that can be easily accessed.
Materials and Tools You’ll Need
Before you begin, gather all the materials and tools required for this project. This list will help you ensure a smooth workflow:
Materials:
- 3/4-inch plywood (for the main shelf)
- 1-1/4-inch wood boards (for cleats and edge molding)
- Crown molding (for finishing touches)
- Filler strip (to cover any gaps between the shelf and the cabinet)
- Wood glue (for extra hold)
- Wood filler (for finishing nail holes)
- Paint or wood stain (for the final finish)
Tools:
- Miter saw (for precise cuts)
- Drill with wood bits (for pre-drilling holes)
- Finish nailer or hammer and nails (for attaching parts together)
- Level (to ensure your shelf is perfectly aligned)
- Measuring tape (for accurate measurements)
- Circular saw (optional, for cutting plywood)
- Sanding block or power sander (for smoothening edges)
- Miter box (to cut molding pieces at the correct angles)
Step-by-Step Guide to Installing Shelves Above Kitchen Cabinets
Plan and Measure the Space

Start by determining where exactly you want to place the shelf. Take accurate measurements of the available space above your cabinets. Ensure the shelf’s width corresponds to the width of your cabinet faces.
- Cabinet Depth: Make sure the shelf is deep enough to hold your items comfortably without overcrowding.
- Height of the Shelf: Consider how much clearance you need above the shelf for easy access to stored items below it.
Install the Cleats
Cleats are essential for supporting the shelf and creating a stable base. These pieces of wood will be nailed into the tops of the cabinets to elevate the shelf.
- Nail the Cleats: Attach the cleats along the top edge of the cabinets. Make sure there is a 3/4-inch gap on each side to allow space for side cleats. This overhang will help support the shelf’s weight.
Cut and Attach the Shelf Top
Now, cut the shelf’s top from 3/4-inch plywood. The shelf top should overhang by 1-1/2 inches on all sides.
- Plywood Dimensions: The length should be about 3 inches longer than the width of the cabinet, and the depth should be around 1-1/2 inches deeper than the cabinet’s depth.
- Edge Cutting: Make sure all edges are clean and smooth to prevent any rough finishes.
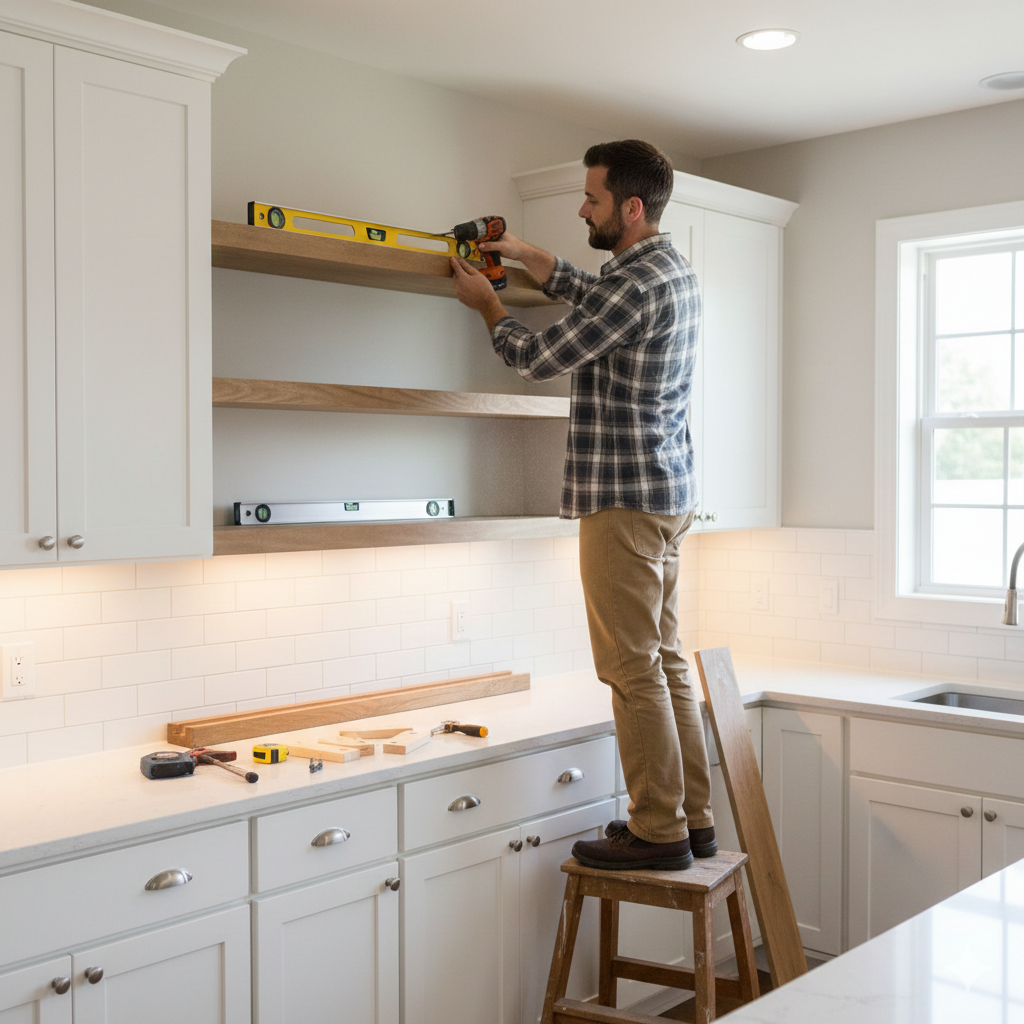
Secure the Shelf to the Cleats
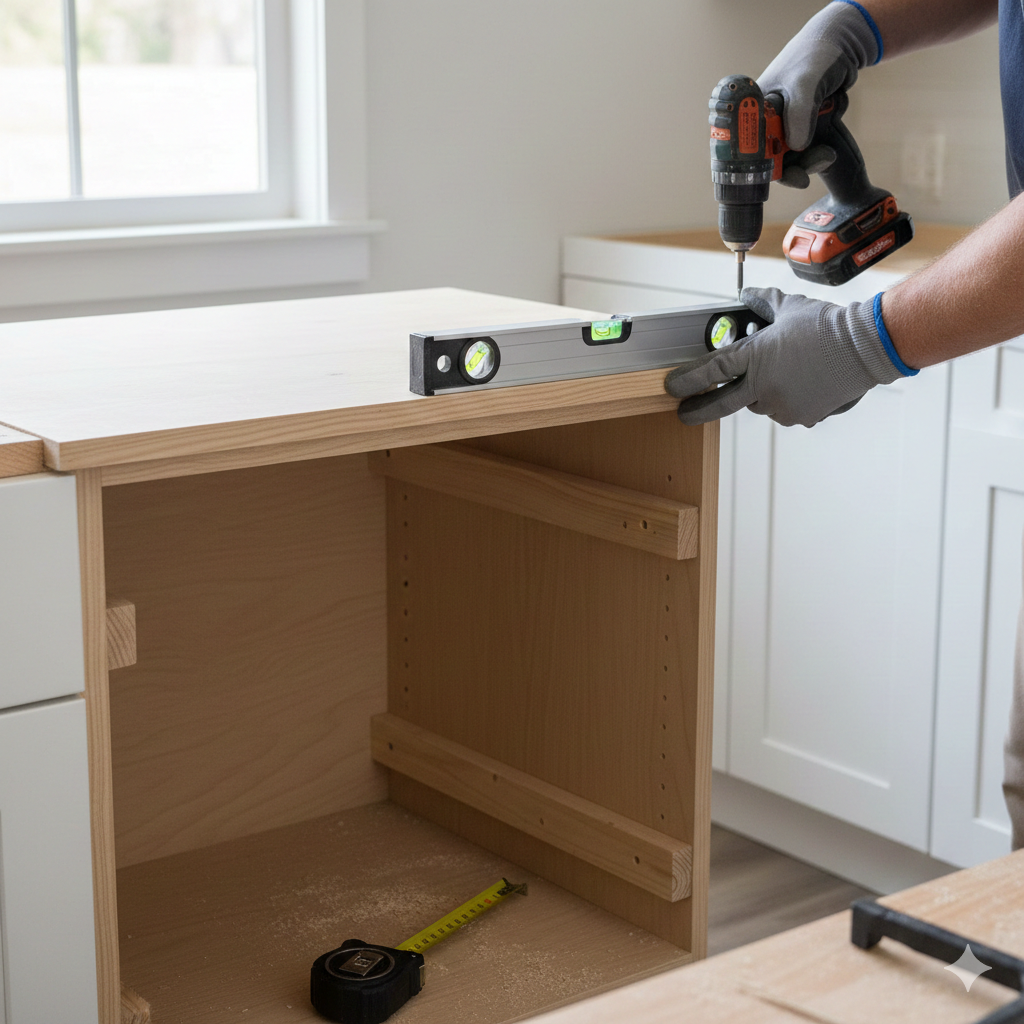
With the shelf top cut to size, place it on the installed cleats. Ensure it’s level before securing it in place with finish nails or screws. Double-check for any gaps between the shelf and the cabinets, and adjust if necessary.
Add the Edge Molding
Edge molding adds a refined, finished look to the shelf, concealing the plywood edges.
- Cut and Attach Molding: Use a 3/4-inch-wide molding, and cut it to fit the edges of the plywood shelf. Attach it with wood glue and finish nails. Be sure to miter the corners at a 45-degree angle for a polished appearance.
Install Crown Molding
To enhance the shelf and match it with the cabinetry below, add crown molding around the top of the shelf.
- Cut the Molding: Use your miter saw to cut the crown molding to fit the width of the shelf. Ensure the cuts are precise and clean.
- Attach the Molding: Nail the molding securely in place, creating a seamless transition from the shelf to the top of the cabinets.
Fill the Gaps and Sand
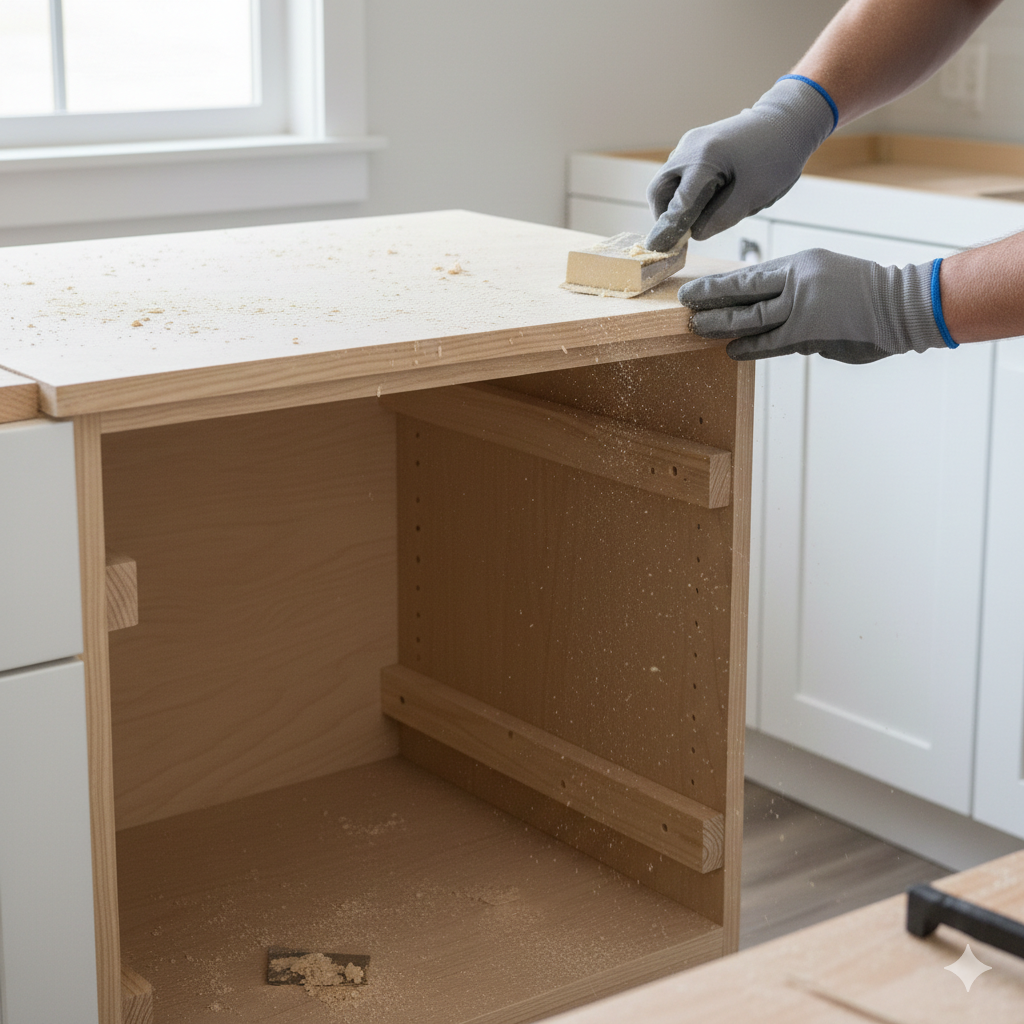
Once all components are in place, fill any nail holes or gaps with wood filler. After the filler dries, use sandpaper to smooth out the surface.
- Sanding: Sand the entire surface of the shelf, including edges and moldings, to ensure a smooth, even finish.
Paint or Stain the Shelf
To make your new shelf blend seamlessly with your kitchen’s décor, paint or stain the shelf to match the existing furniture. Opt for a satin or semi-gloss finish that is easy to wipe clean.
- Choose the Right Finish: If you have natural wood cabinets, select a paint color that complements the wood tones or coordinates with your countertops for a cohesive look.
Final Touches
Once the shelf is fully dry, inspect for any imperfections. Touch up any spots where needed, and remove any dust or residue. Place your items on the shelf, and enjoy the additional storage and decorative space.
Tips for Displaying Items on Your New Shelf

Here are some tips for using your newly installed shelf effectively:
- Use Attractive Baskets: Organize small items in decorative baskets to keep the shelf looking neat.
- Decorative Jars and Bottles: Display aesthetically pleasing items like glass jars, vases, or bottles that fit your kitchen’s theme.
- Utilize for Seasonal Items: Shelves above cabinets are great for showcasing seasonal décor such as holiday-themed items, flowers, or unique kitchen gadgets.
- Keep It Balanced: When placing items on the shelf, arrange them in a way that feels balanced and visually appealing. Group similar items together for an organized look.
Conclusion
Adding shelves above your kitchen cabinets is a simple and affordable way to enhance both the functionality and aesthetic of your kitchen.
By following this step-by-step guide, you can create a beautiful and practical storage solution while giving your kitchen an elegant touch. Whether you use it for decorative purposes or extra storage, the shelf will add value to your space and make the most of unused areas in your kitchen.
Read the original article in Crafting Your Home.