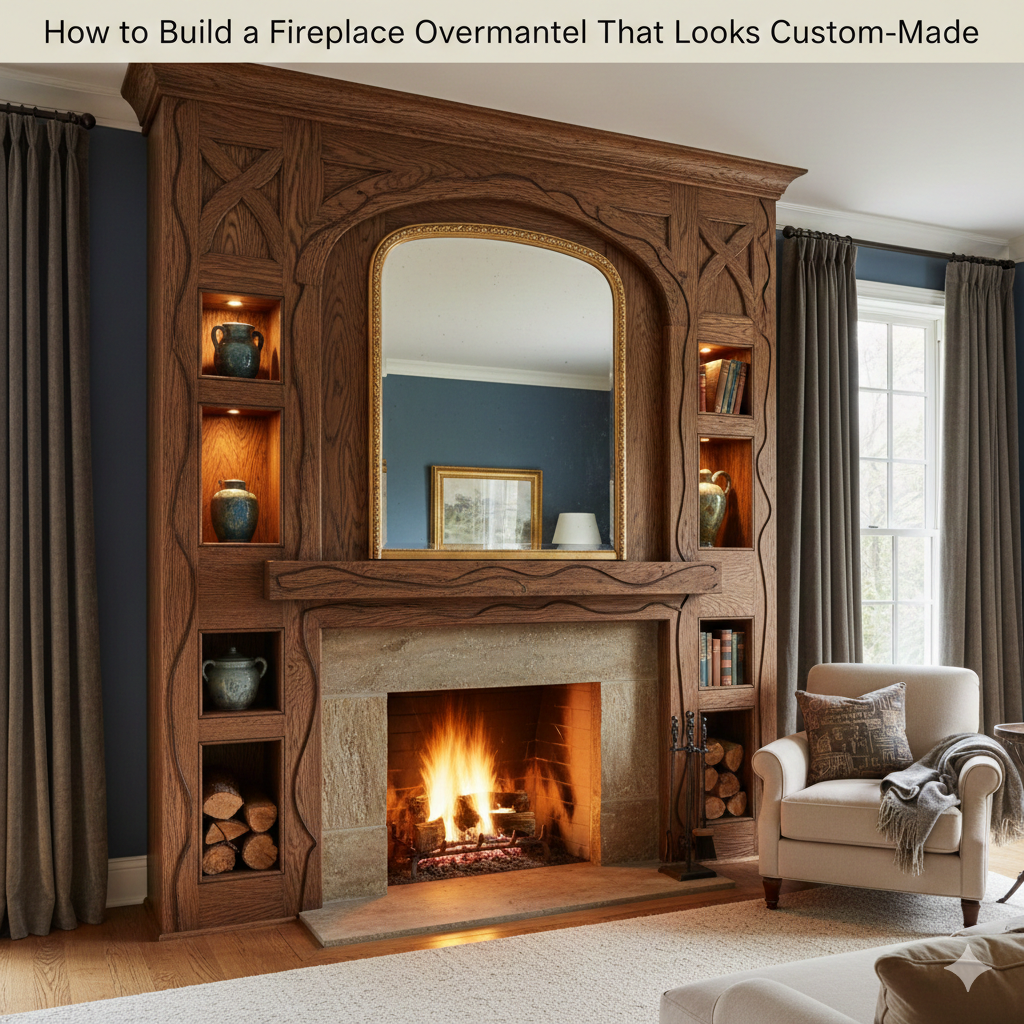
How to Build a Fireplace Overmantel That Looks Custom-Made
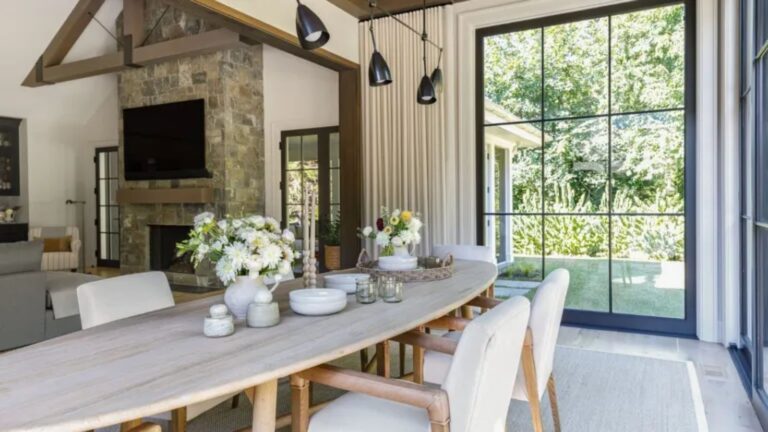
Fireplaces have long been the heart of any home. They provide warmth, comfort, and a timeless focal point for a living space. But what about the area above the fireplace? Adding a fireplace overmantel isn’t just about enhancing the aesthetic; it’s also an opportunity to add functionality and style to your space.
Whether you’re looking to create a grand visual impact or simply add a cozy touch to your living room, building a fireplace overmantel is a perfect way to elevate the entire ambiance of your room.
What Is a Fireplace Overmantel?
Before diving into the construction process, it’s essential to understand exactly what a fireplace overmantel is. Essentially, an overmantel is a decorative or functional structure that sits above a fireplace. Traditionally, it was used to frame mirrors, artwork, or clocks, but modern overmantels can also house lighting, shelves, and even TV mounts.
Why Should You Build a Fireplace Overmantel?
Building a fireplace overmantel not only enhances the room’s visual appeal but also offers practical benefits. Here’s why you might want to take on this project:
- Visual Appeal: A well-designed overmantel can elevate the overall aesthetic of your fireplace, whether it’s classic or contemporary. It serves as a beautiful framing piece for artwork, mirrors, or decorative objects.
- Maximized Space: An overmantel can create additional storage space, such as shelves for decorative items, books, or media equipment.
- Added Value: A stylish, well-executed fireplace overmantel can increase your home’s overall value, making it a worthwhile investment.
- Customization: You can customize your overmantel to reflect your personal style, whether you prefer rustic wood accents or sleek modern lines. This ensures it will blend perfectly with your living room design.
What Materials Do You Need to Build a Fireplace Overmantel?
To create a sturdy and beautiful fireplace overmantel, you’ll need a few essential materials. Here’s what you’ll need to get started:
- Wood (MDF or Pine): The structure of the overmantel can be built using MDF (Medium Density Fiberboard) or pine wood. These materials are affordable, durable, and easy to work with.
- Crown Moulding: This type of trim will be used around the top edges of the overmantel, adding elegance and helping to tie the entire look together.
- Screws and Nails: To hold everything in place, you’ll need a variety of screws and nails. Make sure you choose the correct size for the material you’re working with.
- Wood Glue: This will provide additional stability and help to bond pieces of wood together.
- Wood Filler: For smoothing over any imperfections, wood filler is essential. It helps ensure that your overmantel has a smooth finish.
- Paint or Stain: Whether you prefer a light, natural wood look or a bold, painted finish, this will be used to complete the look of your overmantel.
Step-by-Step Guide to Building Your Fireplace Overmantel
Step 1: Planning and Measuring
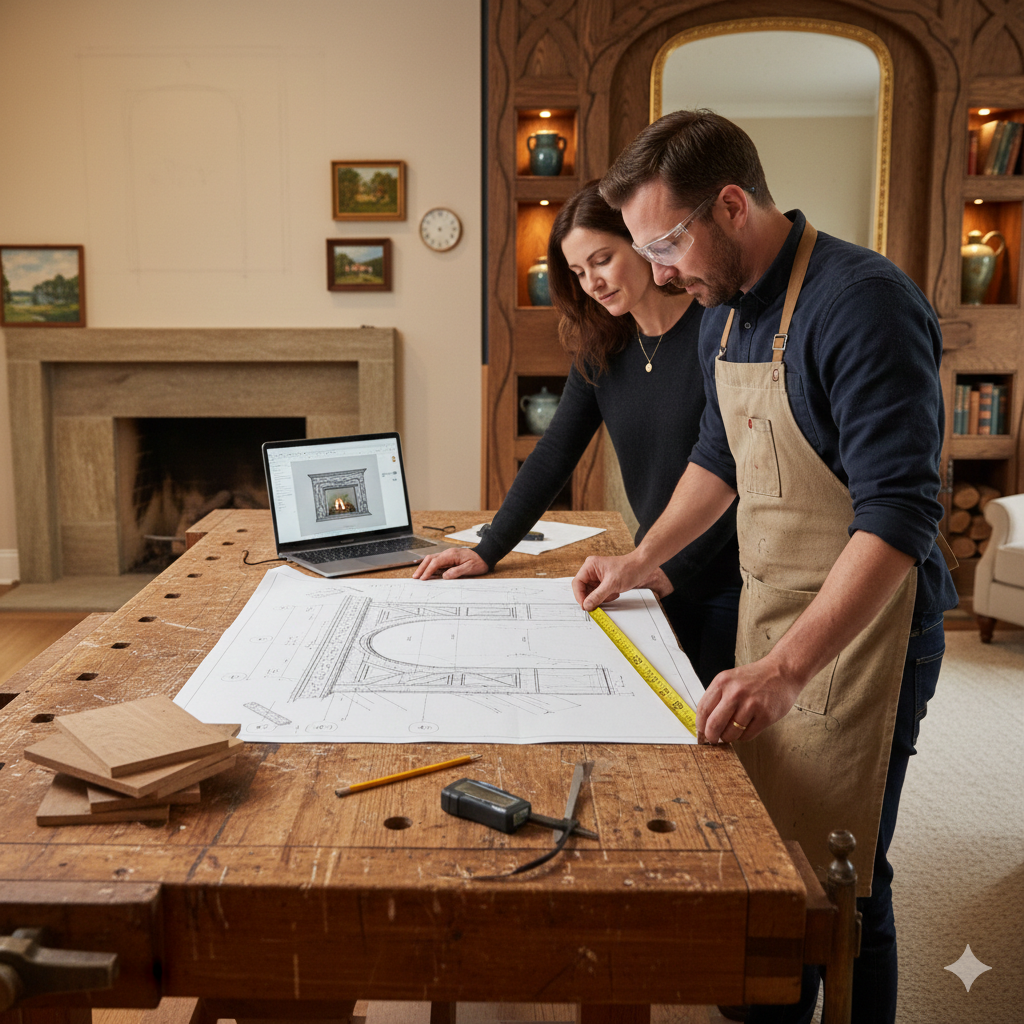
Before you begin building your overmantel, plan the design and ensure the dimensions fit your existing fireplace. Measure the height, width, and depth of your fireplace to determine the ideal size for the overmantel.
Decide on the style you want. Would you prefer a minimalist design with clean lines, or a more traditional look with elaborate details? Once you’ve decided on the style, sketch out your design or use design software to visualize it.
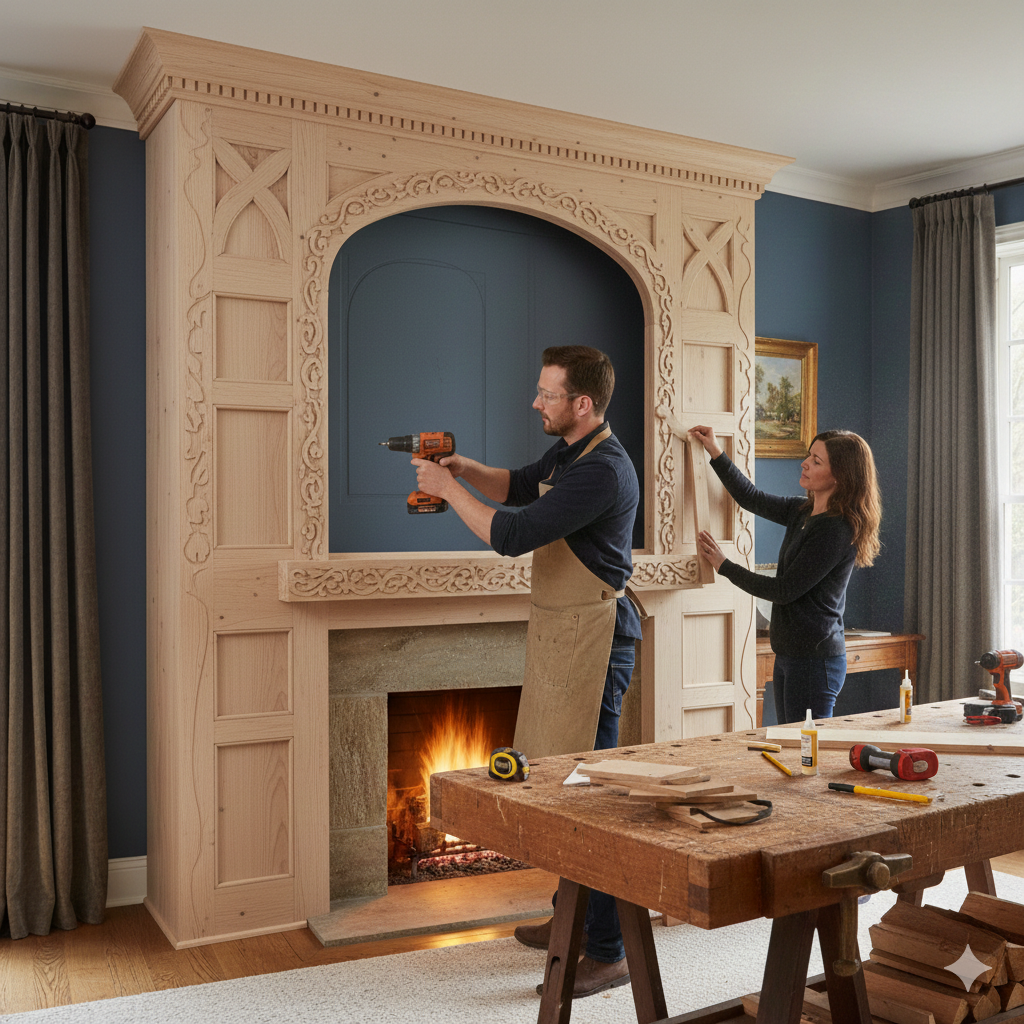
Step 2: Building the Frame

- Cut the Wood: Cut your MDF or pine wood to the desired dimensions for the frame. You’ll need two pieces for the sides and one for the top. If you plan to add shelves or additional features, make sure to include extra cuts for these as well.
- Attach the Sides: Position the two side pieces vertically, ensuring they are level with the bottom of the fireplace. Use a drill to secure them in place with screws or nails. For extra stability, you can use wood glue as well.
- Attach the Top Piece: Place it on top of the side pieces. Secure it with screws, making sure it’s flush with the edges of the sides. This forms the basic rectangular frame of your overmantel.
Step 3: Adding the Trim and Decorative Elements
- Attach the Base Trim: For a simple yet elegant look, use baseboard trim around the bottom of the frame. This creates a finished look and adds a touch of sophistication.
- Crown Moulding: Add crown moulding to the top of the overmantel. This will give it a polished, high-end look and help to tie the overmantel into the rest of your room’s decor.
- Decorative Details: If you want a more intricate design, add decorative elements such as carved wood or base cap trim inside the frame. This can provide contrast and texture to the simple wooden frame.
Step 4: Finishing Touches
- Sand and Smooth the Surface: Use fine-grit sandpaper to smooth rough edges and imperfections in the wood.
- Apply Wood Filler: Fill any gaps or nail holes with wood filler, then allow it to dry completely before sanding smooth.
- Prime and Paint: Apply a coat of primer to ensure the paint adheres properly. Once the primer is dry, apply the final coat of paint in your chosen color. If you prefer a natural wood look, you can stain the wood instead of painting it.
Step 5: Installing the Overmantel
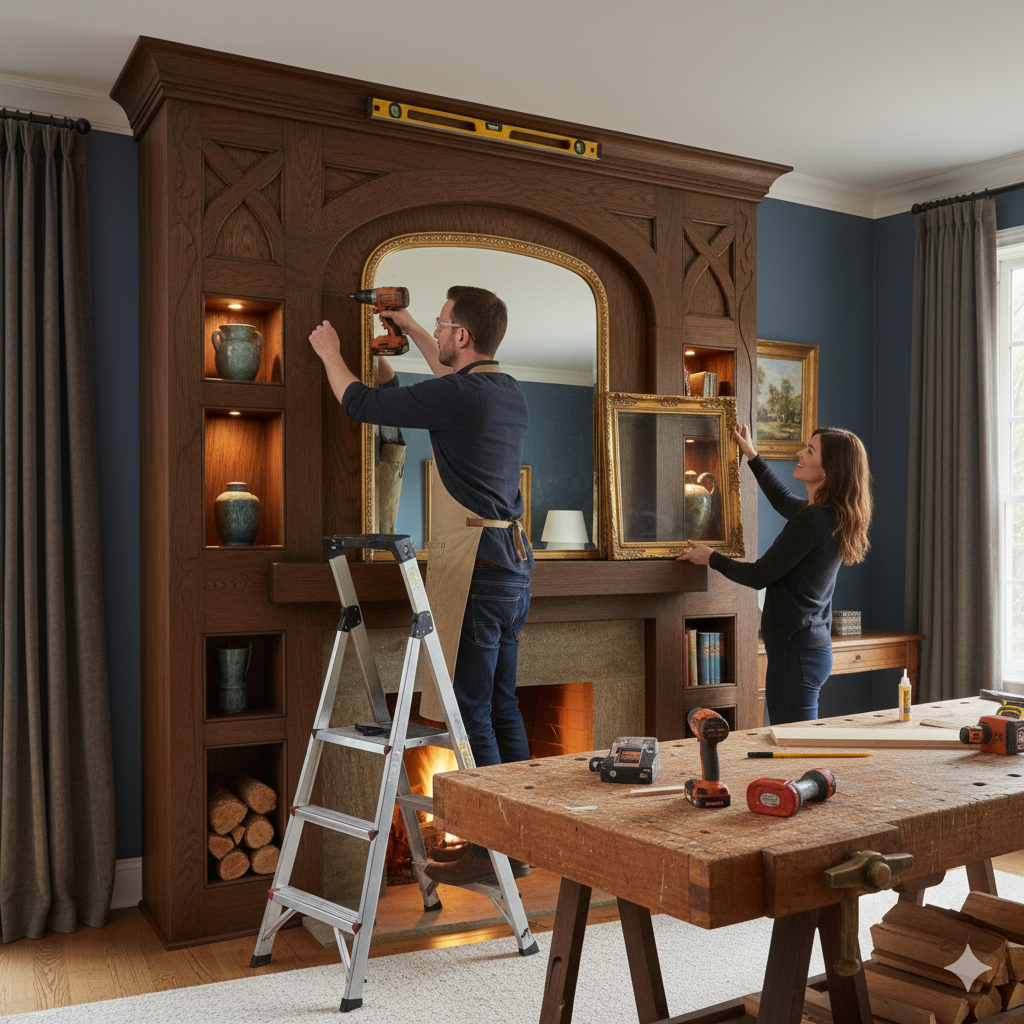
- Locate the Studs: Use a stud finder to locate the studs in the wall behind the fireplace. This is where you’ll attach the overmantel for maximum stability.
- Secure the Frame: Position the overmantel above the fireplace and ensure it’s level. Use screws to attach it to the wall, making sure it’s securely fastened.
- Add the Finishing Touches: If you plan to add decorative items such as artwork or shelves, do so after the overmantel is in place. This will complete the look and add a personal touch to your space.
Maintenance and Care for Your Fireplace Overmantel
- Dust Regularly: Like any piece of furniture, your overmantel will collect dust over time. Be sure to wipe it down regularly with a soft cloth to keep it looking clean.
- Avoid Moisture: Since your overmantel is above a fireplace, make sure it doesn’t come into direct contact with heat or moisture. If you’re placing items on the overmantel, such as plants or candles, use a tray or protective mat.
- Touch Up the Paint: If you notice any chips or scratches in the paint, touch them up immediately to keep your overmantel looking new.
Conclusion
Building a fireplace overmantel is a rewarding project that can significantly enhance the look and feel of your living room. With a few basic tools, materials, and some creativity, you can create a stylish, functional addition to your home.
Whether you’re looking to add a touch of elegance with crown moulding or incorporate shelves for extra storage, the possibilities are endless. With careful planning and execution, your new fireplace overmantel will not only serve as a focal point in your room but also add value and charm to your space for years to come.
Read the Original Article on Crafting Your Home